Rhino3D


Rhino is a modelling software  where all the geometry is based on NURBS mathematical model which produces precise curvesScreen Shot 2015-12-04 at 01.52.51

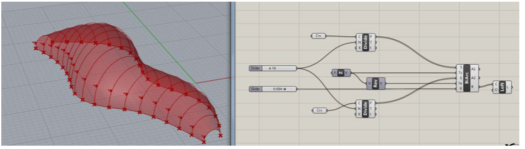
  1. Here we have a Surface created by using the NetworkSrf command which creates a surface using a series of CrvsScreen Shot 2015-12-04 at 02.08.35
  2. Cage and Flow Along. This command works well with history because if you change the initial bounding box the cage pattern will change along with it.Screen Shot 2015-12-04 at 02.14.55
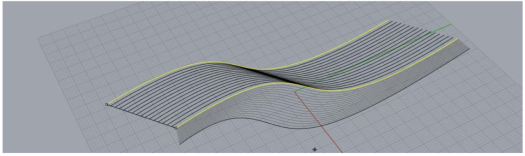
  3. Surface Modelling this form is created by extruding a crv and kinking the edges by manipulating the UVN.Screen Shot 2015-12-04 at 02.19.15
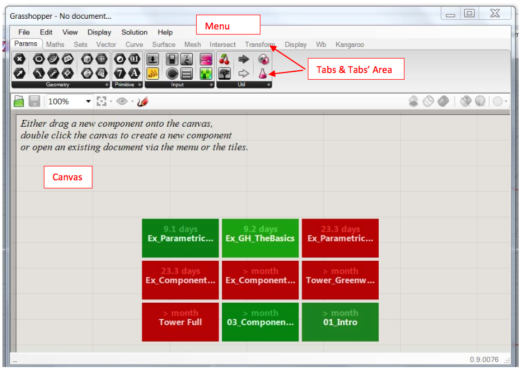
  4. Grasshopper is a plugin for rhino that uses visual based scripting allowing the user to create algorithms that effect the modelling environment. Screen Shot 2015-12-04 at 02.26.01
  5. You can easily link Rhino geometry to your GH definition. To do so GH offer some empty components that you can link to the Rhino geometry. You can find these in the Parameters Tab/Geometry. For example lets’ drag two empty points in. In the right image below, the points as they appear once dragged on the canvas.Screen Shot 2015-12-04 at 02.33.26
  6. Screen Shot 2015-12-04 at 02.37.05Screen Shot 2015-12-04 at 02.42.41Screen Shot 2015-12-04 at 02.46.21Screen Shot 2015-12-04 at 02.46.23Screen Shot 2015-12-04 at 02.48.13Screen Shot 2015-12-04 at 04.20.46Screen Shot 2015-12-04 at 04.22.11Screen Shot 2015-12-04 at 04.23.31


Waypoints and Blender

Screen Shot 2015-12-04 at 03.06.03

Blender

Blender is an open source 3D software that’s available for free to download. Due to the nature of it being open source there is a large community of creatives that have pushed the software in new directions which many prefer over most commercial software.

  1. The blender UI heavily resembles 3DS Max so those who have used that would be comfortable with the interface but initially have to reconfigure the mouse buttons as they are reversed from common convention.
    Screen Shot 2015-12-04 at 03.18.53
  2. With the set up you can create basic geometries and move them around in the modelling environmentScreen Shot 2015-12-04 at 03.21.20
  3. With the points switched on one can select the geometry and modify it creating a different shape in this instance here the two points are moved and dragged down making some legs this called ‘sub divide’Screen Shot 2015-12-04 at 03.22.46
  4. Using a preset mesh primitive you can move the faces to create more complex shapes Screen Shot 2015-12-04 at 03.24.49
  5. By clicking on the colour button and selecting a colour and you won’t see something white.
  6. There different materials that can be applied in this environent the neon material was appliedScreen Shot 2015-12-04 at 03.31.15
  7. Blender also has its own rendering capabilities which work pretty well. Renders come out naturally noisy but all this can be adjusted through the settings.
    Screen Shot 2015-12-04 at 03.36.25 Screen Shot 2015-12-04 at 03.36.57 
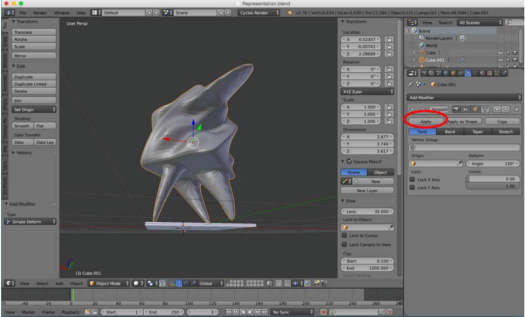
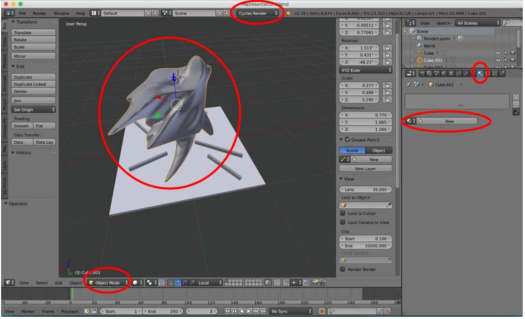
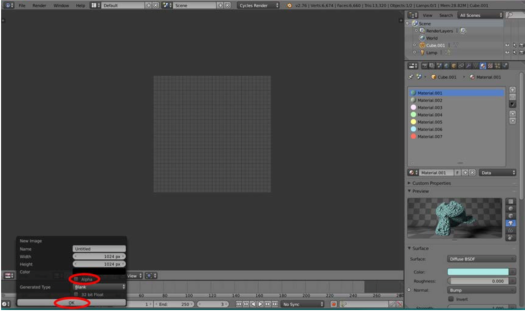
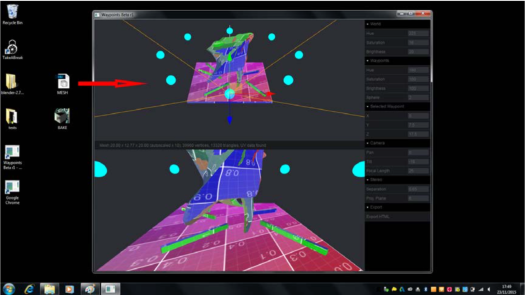
Before the model can be brought into the waypoints walk through environment the geometries have to be baked Screen Shot 2015-12-04 at 03.37.07 Screen Shot 2015-12-04 at 03.42.46Screen Shot 2015-12-04 at 03.43.05

Introduction to Adobe After Effects

After Effects is a motion graphics and visual effects video composition tool.


  1. We begin by opening After Effects and creating a new composition and importing a file.

Introduction to After Effects _001

2. Using a Photoshop file we used the layers to form our motion graphic composition

Introduction to After Effects _002

3. The photoshop file should have its layers arranged


Introduction to After Effects _003


4. This screenshot demonstrates the isolated layers that are ready to be animated.

Introduction to After Effects _004

5. We click on SCALE, click on the % number and move your cursor until the layer fits the COMP (ie 38% of original). Alternatively you can click and type over the scale number. The lock between the 2 numbers (width and height) stops the layer from distorting out of the existing height to width ratio.

Introduction to After Effects _005


We start to manipulating the layer by toggling the transformation properties and applying a keyframe.

006